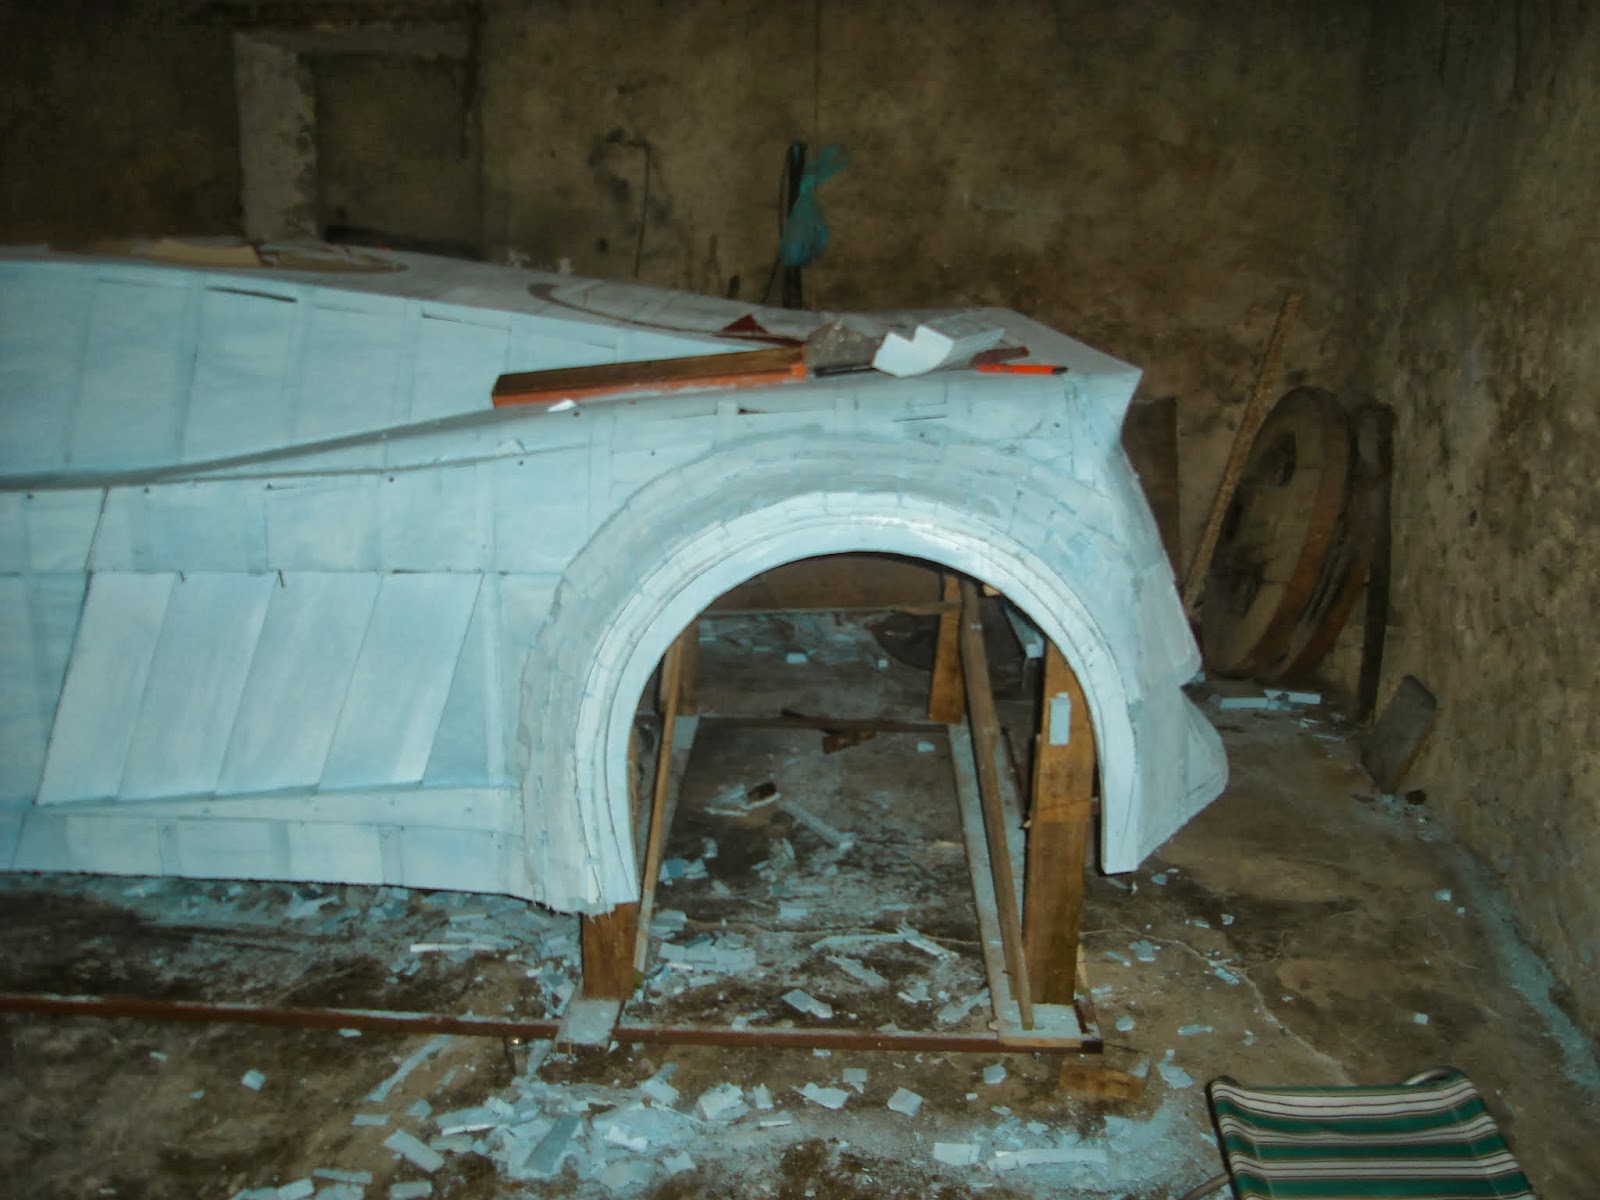
This weekend I spend a bit more time working on the car, continuing to work on the rear right wheel arch. It is finaly starting to look like something, but it stil needs some work. I am now "studying" if I can use "foam putty" to enhace some parts of the wheel arches as well as some other parts of the car. With this putty, instead of having to glue bits of foam and then give them the desired shape, I hope I can mold the putty in place and then smooth it with sandpaper. I have already seen some DIY guides to make this putty, it might work, just need to find out where can I get Borax: http://reviews.ebay.ie/Homemade-Foam-Modelling-Putty_W0QQugidZ10000000001919153
Sorry about the bad quality pictures, I used my phone to take them...


Sorry about the bad quality pictures, I used my phone to take them...